Best Motorcycle Detailing Tips and Procedures
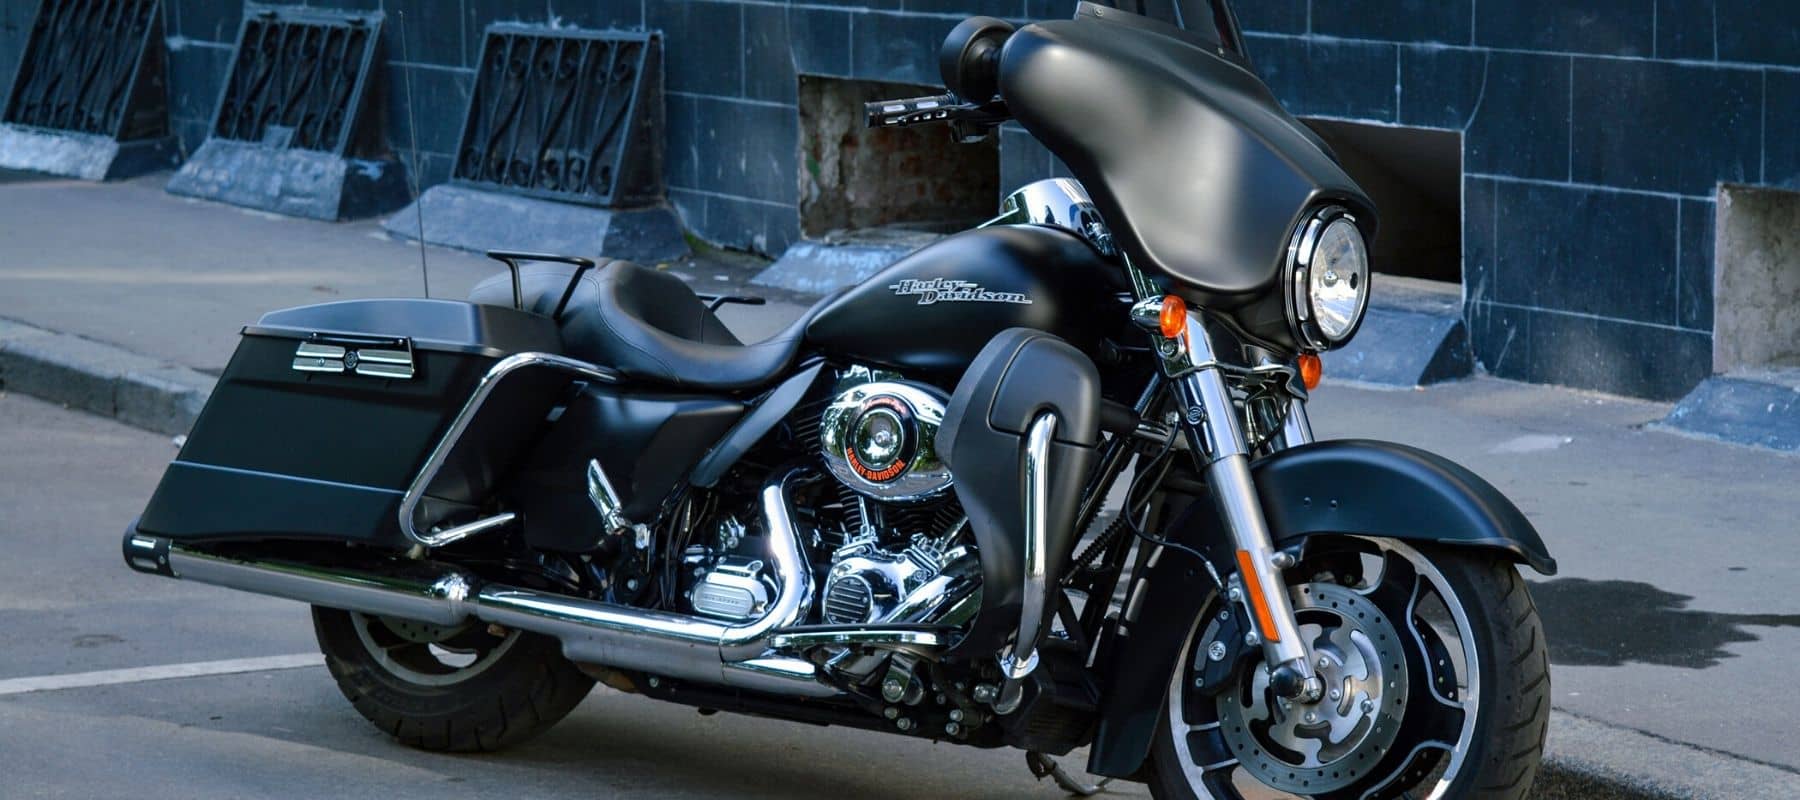
The purpose of detailing, regardless of what you’re driving or riding, is to make your vehicle look better and to keep it healthy. Tied to this is the idea that we want our hard work to pay off much longer than just a few days. This’s true whether detailing a motorcycle or car, but attaining a perfect-looking bike is a much different job than that of a four-wheeled friend. Here’s what you have to know.
#1 Motorcycle Detailing San Diego
How to Detail a Motorcycle
Follow the steps to bring out the high-quality luster and shine to your bike. For the state-of-the-art results, you’ll need to employ professional detailer.
Step 1: Preparation
Before you get down to the process of pre-rinsing the motorcycle, you need to prep it. The motorcycle detailing products that you’ll use during the process will need to be done in the shade, for the best results. It’s also crucial that the bike is protected from the wind so that more foreign particles don’t accumulate on your bike.
Step 2: Pre-rinsing
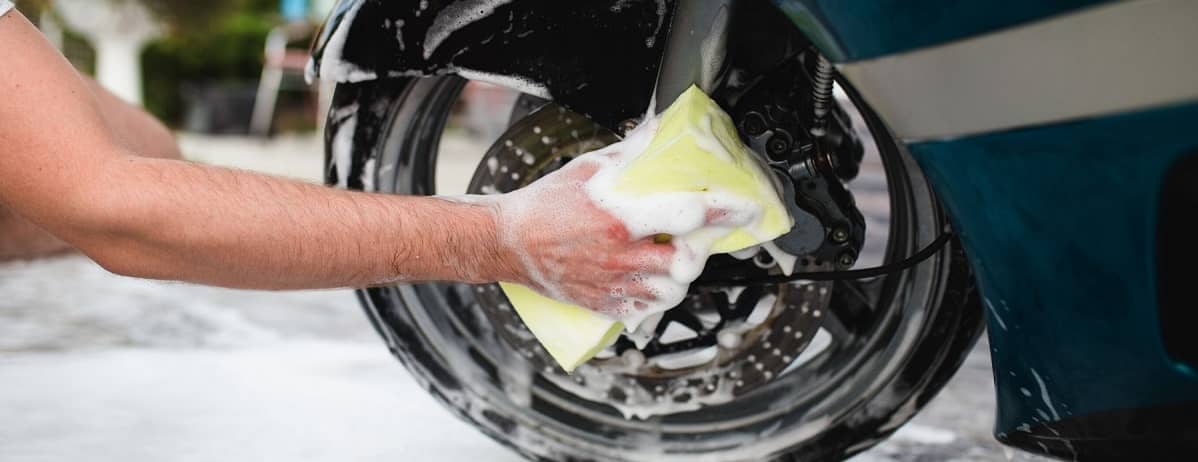
Using a garden hose, spray down the lower sections of the motorcycle with a hose. It’ll remove the largest dirt particles and prevent scratching. Utilizing a high-quality microfiber or sheep’s skin wash mitt and motorcycle or car wash detergent gently wash all the hard surfaces of a bike, then gently rinse with a hose.
Another solution is a waterless wash cleaner and can be used on bikes that aren’t overly dirty. You need a waterless wash option and a high-quality microfiber towel. Get the surface wet using the product and wipe dry, ensuring to turn and switch to clean sheets often. This will prevent any micro-marring that can occur on soft paint.
Step 3: Polishing
Pour the polish to a clean microfiber towel and apply it in a circular motion. Most polishes will spread easily, so begin with a small amount. Use moderate pressure to work the solution into the finish. The aim is to remove the fine abrasions without damaging the rest of the finish.
If you’re still seeing imperfections, you can repeat the polish operation, bumping up a grade of abrasiveness if needed. If you’re satisfied with the outcome, go over the painted areas with a clean cloth to make sure that all of the polish has been removed.

Step 4: Waxing
The last phase for bringing your bike’s painted surfaces to showroom quality is waxing. The goal of wax is to add a protective layer to the finish to safeguard all of the work that you just did. It will also bead water away. The best part of this product is that it’ll add a depth of luster and gloss to the finish to make it shiny.
Apply the wax the same as the polish, working it into all visible painted areas. Follow the directions of the particular wax that you’re using. Once the wax has dried to a haze, take a clean microfiber towel to buff the wax off by applying small circular motions and moderate pressure. Make sure to remove any excess wax that finds its way into any crevices or around emblems.
Avoid any wax on unpainted vinyl, rubber, plastic, or metal. If you do, wipe it off before wax dries. It can dry out and damage these parts. With the wax applied and buffed, your bike’s painted surfaces should now have a luster and shine that is fit for the showroom.
Step 5: Finishing up
Now that the painted surfaces of the bike are clean, it’s time to make the rest of it look just as nice. Special cleaners and wipes are made for all of the plastic, rubber, and vinyl pieces of your motorcycle to make them shine. Satin and matte finishes need special products that don’t contain wax or silicone. Leather can be reconditioned to be flexible and soft with a classic finish.
Required tools/products
- Garden hose;
- Garden hose spray nozzle;
- Microfiber towels;
- Microfiber wash mitt;
- Power washer;
- Waterless wash product – Chemical Guys EcoSmart-RU Waterless;
- Multi-surface protectant – 303 UV Protectant Spray;
- Mild car wash soap – Meguiar’s Gold Class;
- Leather cleaner – Chemical Guys Leather Conditioner & Cleaner;
- Plastic polish – Armor All Outlast Trim & Plastic Restorer;
- Spray cleaner – CarGuys Hybrid Wax Sealant;
- Spray degreaser – Krud Kutter Original Concentrated Degreaser.

Motorcycle Detailing Tips
With the help of these 7 tips, you’ll be well on your way to performing a top-quality detailing job.
1. Let the bike cool before detailing
Hot engine and pipes don’t mix well with cold water since a sudden change in temperature can cause permanent damage to the pipes. So, when detailing a motorcycle, always be sure to give it adequate time to cool down before starting the job.
2. Remove extra parts before work
This includes the windshield, side panels, saddlebags, and any other accessories that can be easily removed. By taking off these spare parts, it’ll make it easier to access and clean the small crannies and nooks of the motorcycle.
3. Clean the chain
The chain is likely to be the grimiest and dirtiest part of the entire motorcycle, so in order to make sure you don’t get dirt from the chain onto the bike after you’ve cleaned the body, always begin the job by cleaning the chain first. Always use the right products for cleaning chains and never spray a chain directly with a pressure washer, or you run the risk of loosening the chain’s components and letting dirt to get inside it and stop it from running properly.
4. Pay extra attention to details
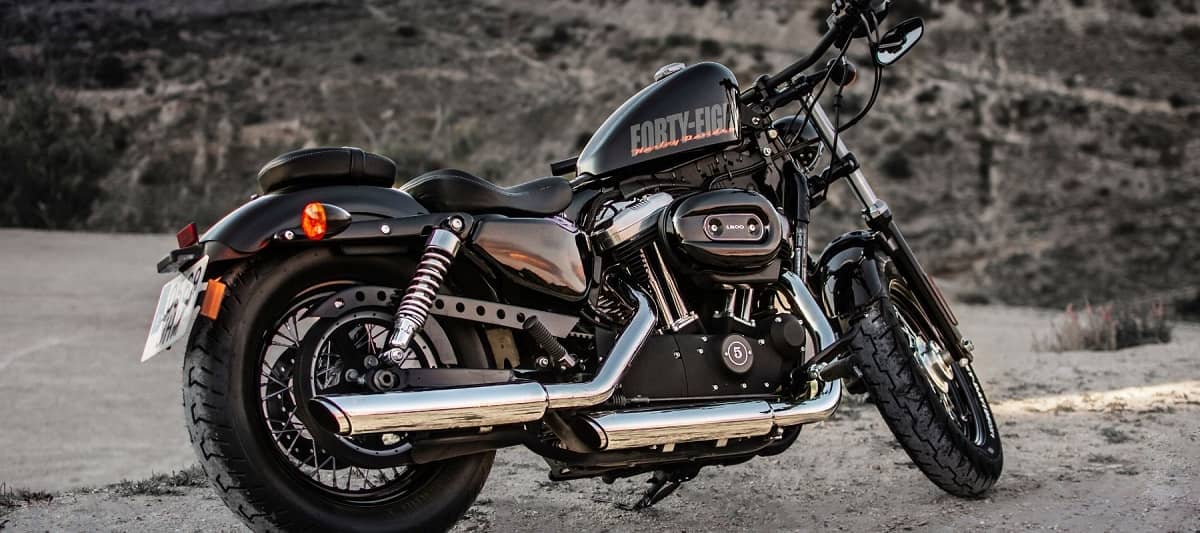
Where motorcycles and cars differ is that a bike usually has its engines completely exposed to the outside elements. In contrast, cars have their engines hidden away under the hood.
An exposed engine means there are more small surfaces where grime and dirt could be hiding, and liquids leaking from the motor can easily get caked onto the outside of the bike. Therefore, when detailing motorcycle, you have to pay extra close attention to eliminating all the dirt, oil, and other impurities that may be lurking in small crevasses. Plus, you’ll want to ensure that you dry those same areas thoroughly to prevent corrosion.
5. Cover the exhaust holes
Since bike engines are exposed, they’re built to withstand exposure to weather and water. Still, getting water from the hose directly inside the exhaust pipe can lead to costly engine damage. To avoid that, plug or cover the exhaust holes. There are several ways you can ensure water doesn’t sneak its way into the exhaust. Exhaust plugs work well, but plugging the exhaust with a towel or covering it with a plastic bag/rubber glove is an efficient alternative as well.

6. Avoid damage of metal
Metal needs to be cleaned regularly. Dirt can become moist, and moisture is a leading source of corrosion, so drying those parts properly is imperative.
Furthermore, keep an eye out for dead insects. They may not make visual corrosion, but they can scar surfaces. This’s because they contain a mixture of amino acids and enzymes, which are capable of reacting aggressively and attacking metal/lacquered parts. It’s highly recommended to remove them as soon as possible.
7. Remove tar spots
Tar can easily flick up from a bike surface and be very tough to eliminate since it’s oil-based. Avoid to tar sit on your motorcycle for long – remove it as soon as possible. If you’re not able to remove tar using a standard cleaning product, try with chain cleaner. Apply to the soiled area and leave for 5 minutes. Rinse with water and utilize a soft sponge or cloth if necessary.
8. Apply the wheel cleaner
Wash your wheels and tires using wash soap and a mild tire cleaner. It’ll eliminate oils from tire dressings and road film. Once the tires and wheels are clean/dry, you can polish and protect the rims.
9. Polish chrome/aluminum components
Chrome parts can be polished with fine chrome polish and waxed to keep the shine. Uncoated aluminum components can be polished with aluminum polish, and coated aluminum is actually treated the same as the paint on your motorcycle – lightly waxed and polished.
Bike Detailing Benefits
There are a number of different advantages to keeping a bike clean and protected. The most obvious one is that it keeps your motorcycle looking amazing. It also prevents damage to your motorcycle. By detailing it regularly, you have a chance to really inspect your bike at a time when it’s not in use.
When you’re really looking at your motorcycle under good light, you may notice small issues that you wouldn’t have seen otherwise. Locating these issues early on may mean that you can prevent more severe damage to your ride.
Keeping the bike protected during the winter and from storms/winds by using a motorcycle cover is also a good way of making certain dirt, debris, and even small animals and bugs stay out of your motorcycle’s most sensitive parts.
Motorcycle Detailing Prices
Getting your motorcycle professionally detailed can cost from $200 all the way up to $600 for a complete motorcycle detailing service with the optional protectant package.
#1 Mobile Motorcycle Detailing San Diego Service
Pristine Mobile Detail is your top local source for motorcycle detailing services! We work with Harley’s street bikes, dirt bikes, choppers, custom bikes, and so on. From minor detailing to details for every crevice and crack, your bike will shine again with the best motorcycle detailing San Diego offers.
Contact us today at 760-822-6363 to schedule an appointment or to learn more about our mobile bike detailing work!
